

How To Release Makeup Pan From Compact

We never have enough, one is too brown, the other too bright so nosotros discover the 1 that is but right – for that moment. We scour the manufacture tradeshows, corrective counters and drugstores looking for that 1 shade that got away. We acquire the holy grail hue all to realize that we already have it – just by another brand in a closed compact. The woes of a makeup artist are tough, expensive and heavy with all the compacts of blush and shadow we carry in our makeup kit – but we love it!
So to streamline, remove the dead-weight of compacts and mirrors, make room in our makeup kit, become organized and see what nosotros have at-a-glance – we "DEPOT." Some makeup is sold in "clamshells" or "refills" – only the blush or shadow pressed into the pan, and so sold inside a disposable plastic sleeve. Nevertheless, most compact makeup is glued into a meaty, requiring a few easy steps to remove before depotting and organizing into a professional palette.
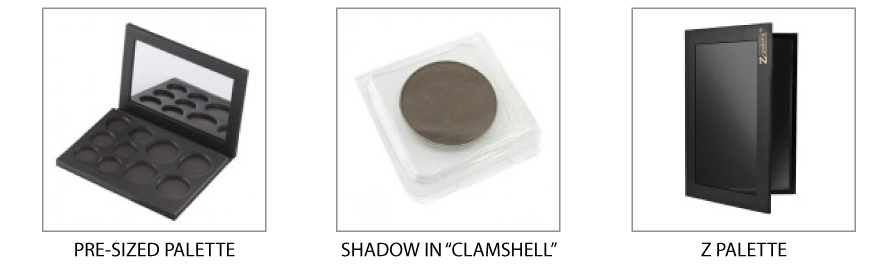
There are professional person brands that offer refillable compacts and magnetic palettes in a variety of sizes, colors and materials. Some accept pre-sized cut-outs inside the compacts for specific pans of colour and some are open up wells for versatility. Our MUSE Dazzler.PRO pick is the Z PALETTE created by Emmy Honour Makeup Artist – Zena Shteysel. They are lightweight, inexpensive and customizable to house any size and shape makeup pan.
Depotting is easy and fast, requiring a few simple steps. This techniques works best with powder shadow or blush compacts. Practice non depot cream or gel compact makeup in an oven as it will cook the makeup and change the formula.
WHAT Y'all Demand
10 Minutes, Oven, Oven Manus, Baking Sheet, Foil, Small-scale Makeup Spatula, Compacts, Z Palette
PREP
- Depot in a well ventilated space
- Remove plastic protective shields, sponge applicators and brushes from compacts
- Place oven rack to middle position
- Preheat oven to 350°
- Line baking sheet with foil

Pace 1
Collect your powder compacts. Do not attempt this method with foam or gel mediums. Open up each compact and prepare onto baking sheet – identify canvass in oven for nigh seven minutes.

Step two
Remove from oven. Y'all will see that the compacts have begun to melt and the mirrors often come loose. Remove mirror before you begin to depot the pan. Hold compact with oven mitt and insert spatula betwixt metal pan and meaty.

Pace 3
Gently pry metal pan around the edge until costless. If pan does not pry out easily, place back in oven for iii minutes and echo STEP i.
Depotting is like shooting fish in a barrel, but there is the occasional impatient MUA who volition crevice the makeup in the pan upon removal. If the pan does not pry out easily, the glue underneath has not melted plenty – repeat STEP 1. If your makeup cracks in the pan, gear up aside the depotted pan to cool. Spray with alcohol and identify a piece of tissue over the pan. Press gently yet firmly with your thumb to re-set makeup into the pan.
Be certain to continually keep an centre on your compacts equally oven temperatures vary and so that they do non over melt.
If glue is left nether the pan, remove by rubbing off with Brush Cleaner.

Footstep iv
Organize your depotted makeup into your Z Palette. The bottom within of the Z Palette is magnetic and should hold the pans. If the pan is fabricated out of a not-magnetic metal, utilise a round metal sticker that comes with the Z Palette nether the pan – PEEL, STICK, Fix & GO!
Source: https://musebeauty.pro/blog/how-to-depot-compact-makeup-/
Posted by: newellcoughterep61.blogspot.com
0 Response to "How To Release Makeup Pan From Compact"
Post a Comment